The Floor Sanding Process in Auckland: How We Restore Timber Floors
Across Auckland’s villas, bungalows and family homes, native timber floors are one of the features most worth saving. Many sit hidden under carpet that has been down for decades, and in most cases the timber beneath, rimu, matai, kauri or tawa, can be brought back to life by sanding rather than replaced.
With more than 25 years restoring Auckland floors, we have learned the result comes down to one thing: doing each stage properly and never rushing the timber. This page walks you through our floor sanding process, stage by stage, so you know exactly what to expect.
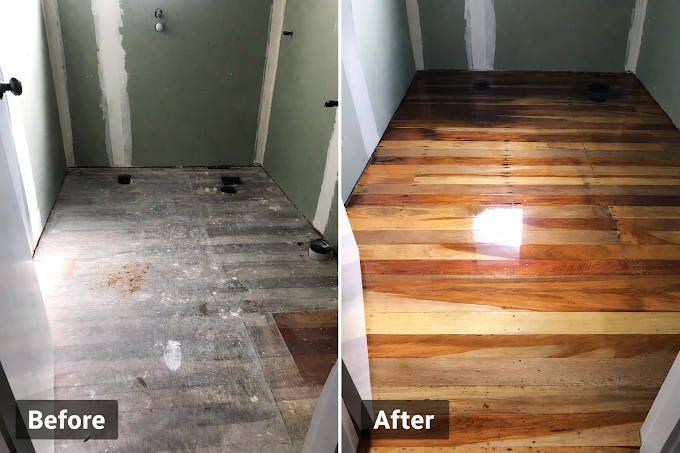
The process at a glance
What floors can be sanded?
A wide range of timber surfaces can be sanded and recoated:
- Solid timber floorboards: rimu, matai, kauri, tawa and oak
- Tongue-and-groove strip flooring and wide-board native timber
- Parquet and herringbone blocks
- Engineered timber flooring, where the wear layer is thick enough to take a cut
- Cork tiles and some particleboard floors
Our floor sanding process: three stages
Floor sanding follows three stages: preparation, sanding, and coating with a protective sealant. The craft is in how carefully each is done.
Stage 1: Preparation
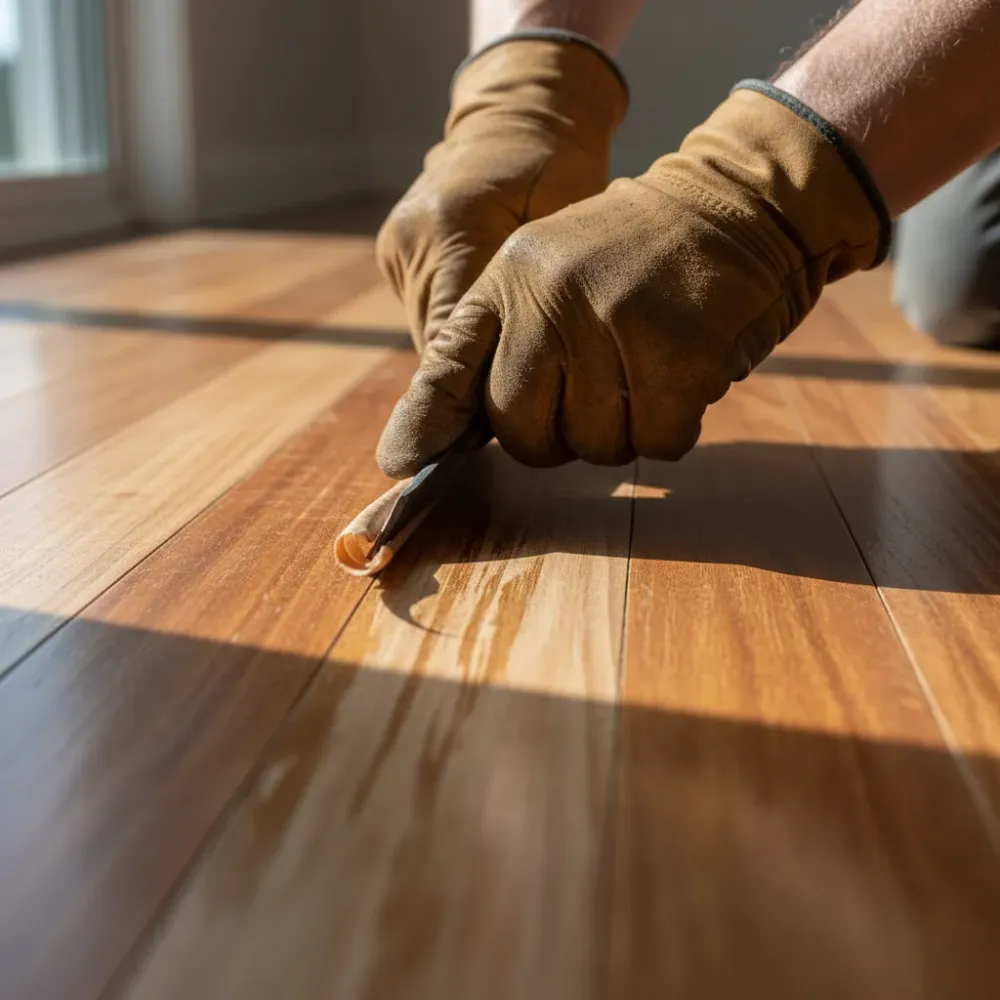
Preparation protects both your floor and the equipment, and it is where an experienced operator earns their keep. We:
- Lift old coverings, then remove every staple, tack and patch of adhesive left behind
- Punch all protruding nails 2-3mm below the surface, a single missed nail head will tear an abrasive belt and gouge the timber
- Re-secure loose, lifting or squeaking boards and replace any boards too far gone to save
- Assess gaps and nail holes, then agree with you whether to fill for a uniform look or leave the natural character of an older villa floor
Filling is a judgement call. On a tight modern floor we fill with a timber-matched filler slurry; on a rustic 1920s kauri floor, many owners prefer the gaps left as they are. We talk this through before a single grit touches the wood.
Stage 2: Sanding
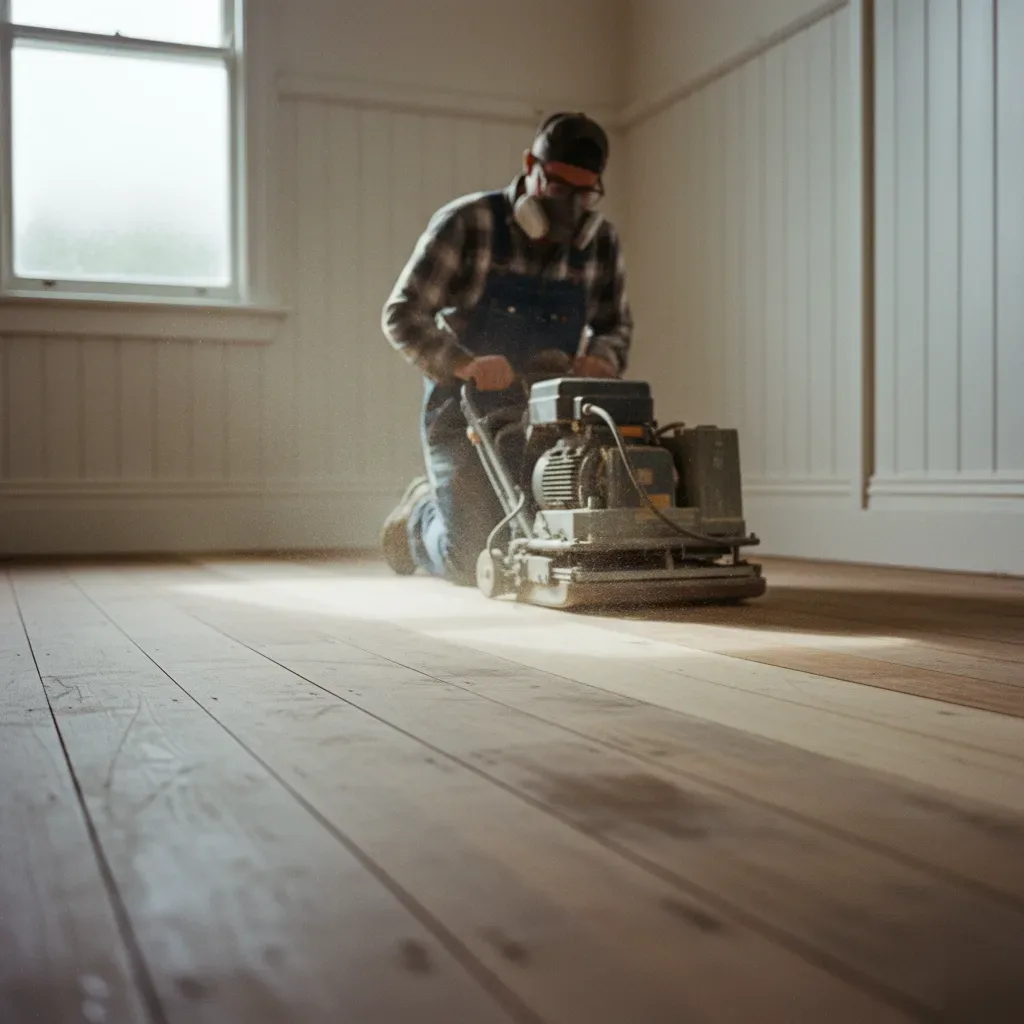
Around 90% of the floor is cut with a professional belt sander, run with the grain so the continuous belt leaves no drum chatter. The remaining 10%, edges, corners, under joinery and stair treads, is taken back with an edge sander, then hand-scraped into the tightest corners.
We sand in a graded grit sequence, the method recommended for hardwoods such as oak, matai and rimu:
| Stage | Grit | What it does |
|---|---|---|
| First cut | 40 | Strips old polyurethane and levels height differences between boards |
| Second cut | 60-80 | Removes the scratch pattern from the first cut and refines the surface |
| Final cut | 100-120 | Brings the timber to a smooth, even surface ready to take stain or coating |
Stage 3: Coating and finishing
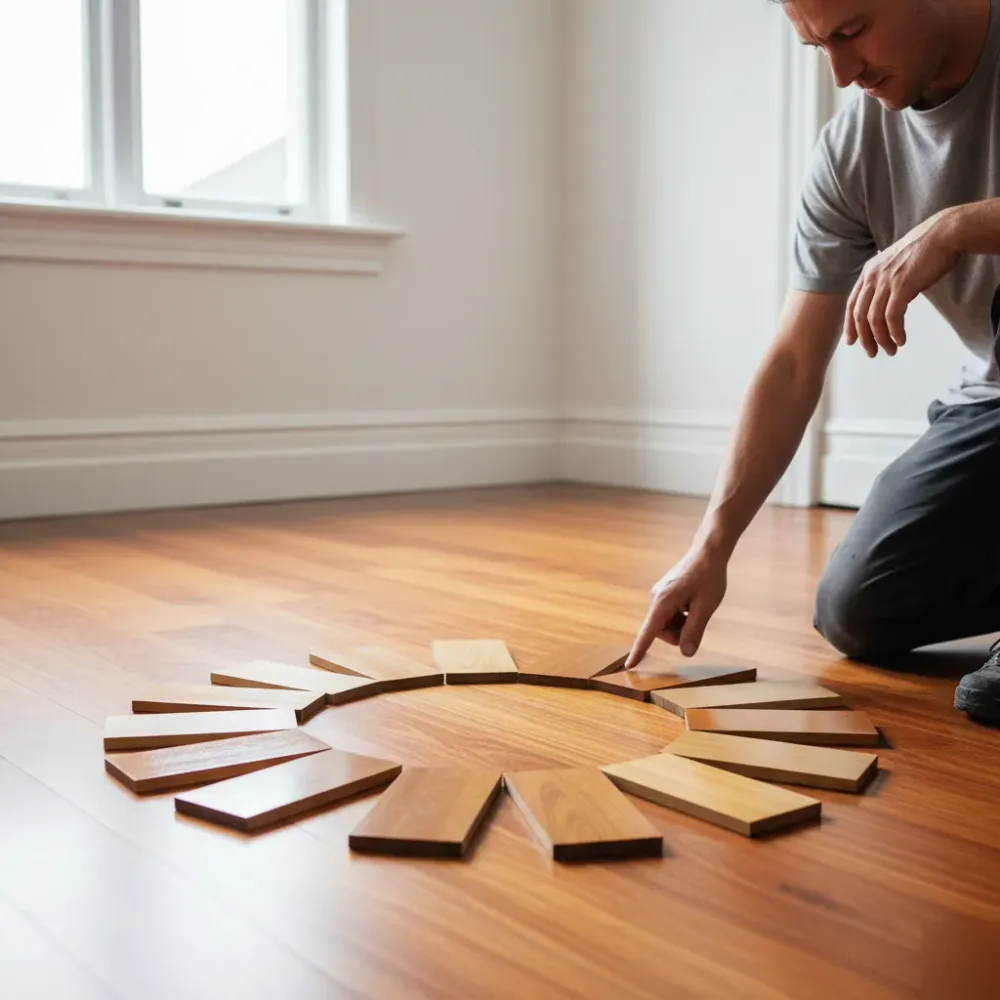
Once the floor is sanded and thoroughly vacuumed between cuts, we apply your chosen finish. We work with the coatings trusted across the New Zealand trade:
| Finish | Brands | Best for | Dry time |
|---|---|---|---|
| Waterborne polyurethane | Bona, Synteko, Resene ProSelect | Low odour, keeps natural timber colour | 2-4 hrs |
| Moisture-cured polyurethane | Handley Industries | High-traffic & rental floors, hardest wearing | ~24 hrs |
| Hard-wax oil | Bona | Character homes, easy to spot-repair | varies |
We apply 2-3 coats, screening lightly between each so they bond properly. You choose the sheen: gloss (high shine), satin (mid-range and very popular), or low-sheen matte. The lower the sheen, the more forgiving the floor is of scratches and everyday wear, which is why satin and matte are the most common choices in Auckland family homes.
Drying and curing times
Timber floors reward patience. Walking on a coat before it has hardened leaves footprints in soft polyurethane, and that means sanding back and recoating.
| Stage | Time |
|---|---|
| Each coat, touch dry | 2-24 hours, depending on the finish |
| Walk on the floor in socks | 24 hours after the final coat |
| Return light furniture | 48 hours, lifted not dragged |
| Replace rugs and mats | 7 days |
| Full cure, hardest strength | 7 days |
Aftercare: protecting your new floor
- Fit felt pads under every piece of furniture, and lift rather than drag
- Clean with an anti-static mop, and damp-mop with a pH-neutral timber cleaner, never soaking wet
- Avoid steam mops, wax and silicone cleaners, they cloud the coating
- Keep stiletto heels off the timber, point loading is the most common cause of dents
- Lay entry mats to catch grit, but only after the full 7-day cure
How long does a floor sanding job take in Auckland?
| Floor size | Typical home | Time |
|---|---|---|
| 40-75 m² | 2-bedroom unit or half a 3-bedroom house | 2-3 days |
| 75-100 m² | Typical 3-bedroom Auckland home | 3-4 days |
| 100 m²+ | Larger 3-4 bedroom home | 4-6 days |
Why the process matters for Auckland homes
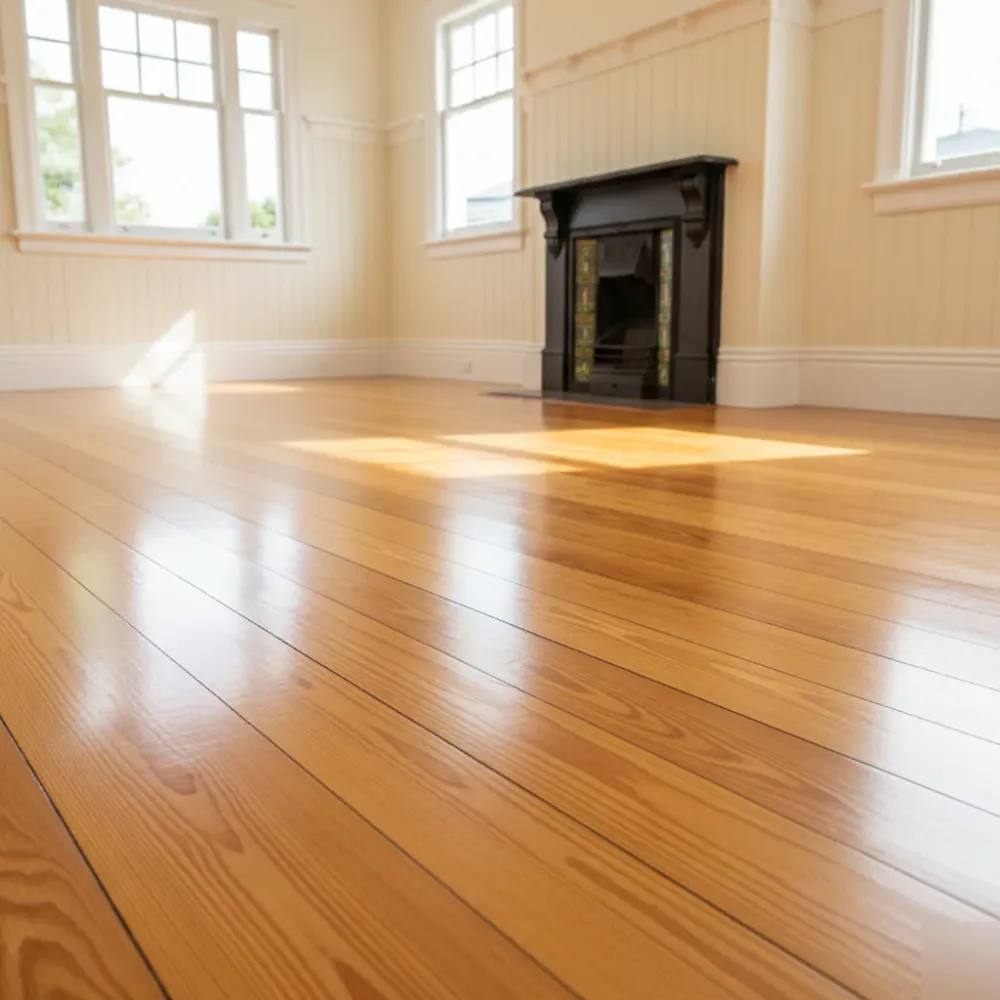
Auckland’s humid, coastal climate, with sea air across both the Waitematā and Manukau harbours, puts timber floors under constant movement. Seasonal swings in humidity make boards expand in summer and contract in winter, which is why correct preparation, the right gap-filling decision and a properly cured, moisture-resistant finish matter so much here. A floor coated in a hurry tends to show it within a season.
If your timber floor is looking worn, dull, grey or scratched, our professional floor sanding in Auckland restores it to near-new at a fraction of replacement cost, and keeps the original character that makes an Auckland villa or bungalow worth living in.
